
A customer brought us a Jeep last winter with a 12 pod rock light kit someone else had installed the summer before. Four pods were dead, two flickered, and the rest only worked when the engine was running. The pods were fine. Every single problem was a connector that had corroded or a wire that had chafed through.
That’s the story with almost every rock light failure we see. So this guide is about the wiring, because that’s what decides whether your lights work for one season or ten.
Here’s what you’ll find below:
- Why rock lights stop working
- How to wire rock lights in 8 steps
- What you need
- Should you wire them yourself?
Why do rock lights stop working?
Rock lights live in the worst spot on the vehicle: inside the wheel wells and along the frame, where they get blasted with water, slush, salt and gravel. The LEDs are sealed. The wiring between them usually isn’t.
- Corroded connectors. Twist-and-tape or bare crimp connectors wick in salt water and turn green in one winter.
- Chafed wires. A wire zip-tied to the frame rubs on a sharp edge or a moving suspension part until the insulation wears through.
- Bad grounds. A ground screwed into painted or rusty metal gives you flicker and dim pods.
- No fuse. A kit tapped straight into a factory circuit has no protection, so one shorted pod can take out your parking lights or worse.
- Heat. Wire run too close to the exhaust melts.
The pods on that Jeep were fine. Every failure was a connector or a wire. Fix the wiring and rock lights are a ten-year upgrade.
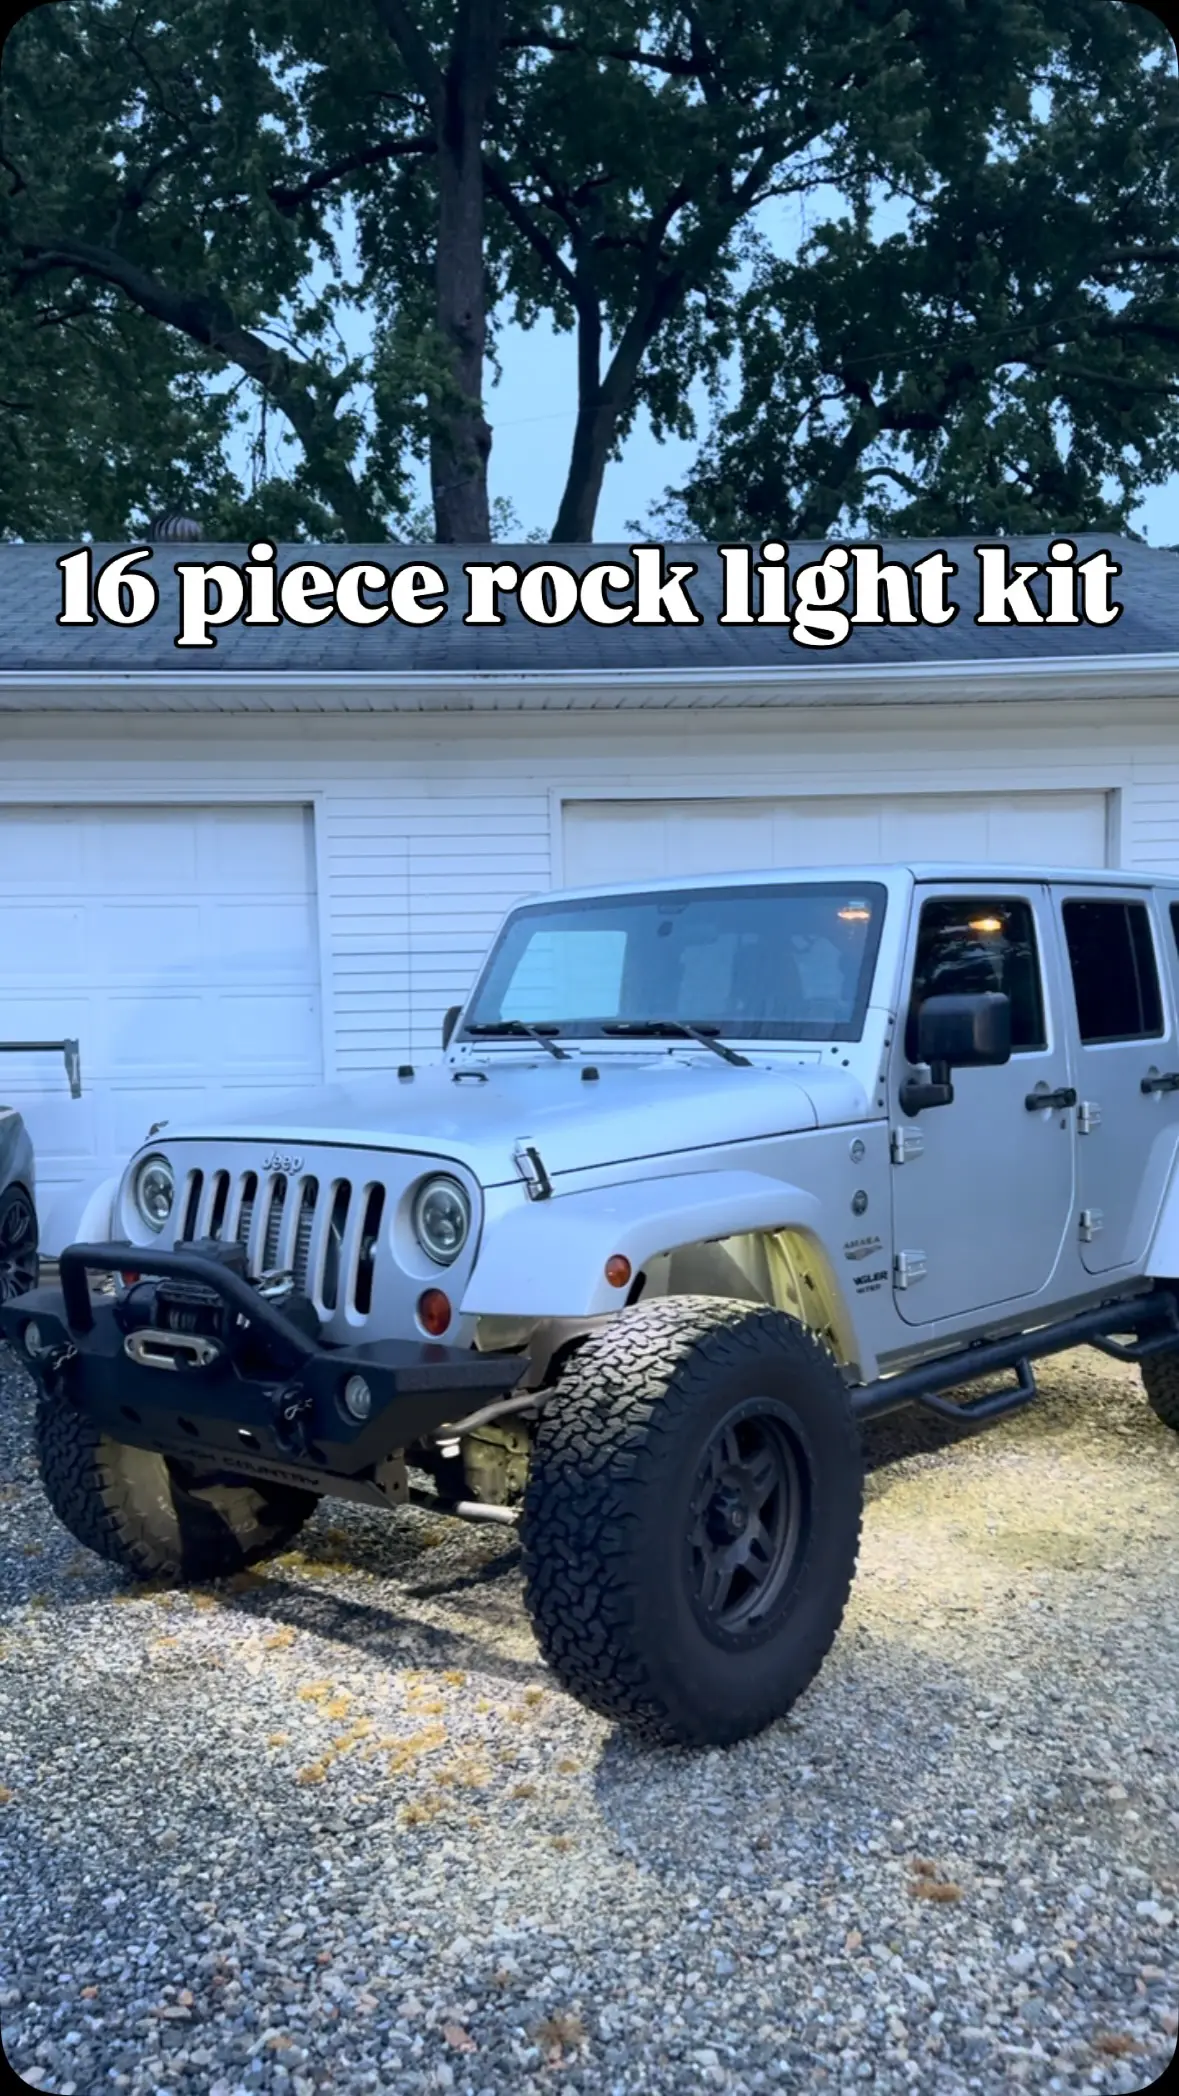

How to wire rock lights in 8 steps
Here are the 8 steps to wiring rock lights so they last:
- Plan the run before you drill anything
- Mount the pods where they’ll survive
- Run a fused power wire from the battery
- Add a relay or controller
- Make a clean ground
- Seal every connection outside the cab
- Loom and secure the wiring
- Test, then button it up
Let’s go over each step.
1. Plan the run before you drill anything
Lay the pods out where you want them and trace the wire path back to the battery with the vehicle on the ground and the wheels turned both ways. You’re looking for anything that moves, gets hot, or has a sharp edge: suspension arms, the exhaust, the driveshaft, body seams.
Pick a spot for the controller or relay that stays dry, usually inside the engine bay fuse area or in the cab.
2. Mount the pods where they’ll survive
Up high in the wheel well or on the frame rail, pointed down, out of the direct spray line from the tire. Use the pod’s bracket and stainless hardware. Self-tapping screws into thin inner fender plastic back out in a season.
3. Run a fused power wire from the battery
Power comes from the battery positive through an inline fuse within a few inches of the terminal. Size the fuse to the kit: add up the pods’ amp draw, add a little headroom, and use the next standard fuse size. Never tap the lights into a factory circuit.
Use real copper automotive wire, 14 or 16 gauge for most kits, not the thin stuff that comes in the box.
4. Add a relay or controller
Single-color kits get a relay triggered by your switch, so the switch only carries a tiny signal and the relay carries the load. Color-changing kits usually have a Bluetooth controller that does this job. Mount it inside the cab or in a sealed box, never under the vehicle.
Feed the trigger from an ignition-switched source so the lights can’t stay on and drain the battery.
5. Make a clean ground
Sand the paint off a spot on the frame or body, bolt the ground ring terminal down tight, and coat the connection with dielectric grease. Half the flickering rock lights we see have a ground screwed into paint.
6. Seal every connection outside the cab
Every splice under the vehicle gets a heat-shrink butt connector with adhesive lining, or a soldered joint under adhesive heat shrink. Plug connectors get dielectric grease. Nothing gets electrical tape alone, because tape unwraps the first time it gets hot.
7. Loom and secure the wiring
Run the wire inside split loom, then secure it every 8 to 12 inches with zip ties or clips, following factory harnesses where you can. Keep it away from the exhaust, steering, suspension travel and anything with an edge. Leave a little slack at the pods so suspension movement doesn’t tug them.
8. Test, then button it up
Power everything up before you reinstall fender liners and trim. Check every pod, every color, and that the lights go off with the ignition. Then close it up and spray the wheel wells with a hose to make sure nothing flickers wet.
What you need
- A rock light kit with sealed pods (IP67 or better)
- 14 or 16 gauge automotive wire, red and black
- An inline fuse holder and fuses
- A relay or the kit’s controller
- Adhesive-lined heat shrink butt connectors and a heat gun
- Dielectric grease
- Split wire loom and zip ties
- Stainless mounting hardware
- A multimeter and a test light
Should you wire rock lights yourself?
If you’re comfortable with a multimeter and have a day to do it right, yes. The steps above aren’t hard, they just take patience. The kits that fail are the ones installed in two hours with the connectors from the box.
If you’d rather have it done, or you’ve got a kit someone else installed that’s half dead, bring it to us. We wire every rock light kit this way, from 4 pod kits to 16 pods and up, and every install carries our 1-year craftsmanship warranty. See our lighting installs in Wilmington or read the full lighting guide.
Rock light wiring FAQ
What size fuse do rock lights need?
Add up the amp draw of all the pods, add about 25% headroom, and use the next standard fuse size. Most 8 to 16 pod kits land between 10 and 15 amps. The kit’s instructions will list the draw.
Can I wire rock lights to my parking lights?
You can trigger a relay from the parking light circuit so the rock lights come on with them, but never power the pods directly from that circuit. The pods need their own fused feed from the battery.
Why do my rock lights flicker?
Almost always a bad ground or a corroded connector. Check the ground first: it should be bolted to bare metal, not paint.
Are rock lights legal to drive with in Delaware?
Rock lights are for off-road, parked or at a show. Delaware doesn’t allow extra flashing or colored lights on the road, and red can’t show forward. Wire them to their own switch so they stay off while driving.
How much does it cost to have rock lights installed?
It depends on the number of pods and the controller. Send us your vehicle and the kit and we’ll quote it, usually the same day. Get a quote.